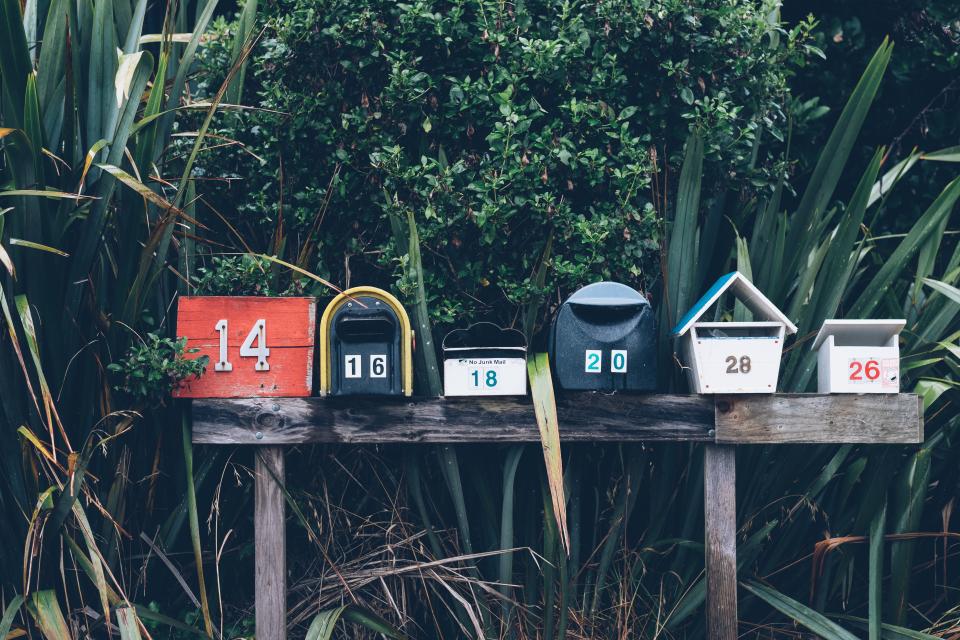
Mail! Despite our best efforts to curb the number of trees that are slain fated to be delivered to our mailboxes, it seems like an excruciating amount of mail makes its way into our homes every week. Because it just keeps on coming, it’s one of the toughest clutter issues most people tackle in their homes.
So, what do we do with it all? First off, shred unneeded mail with personal information on it, or just toss “Current Resident” mail directly into the recycling bin. Once you’re down to mailers you actually need, it’s time to organize it!
Here’s how you can create a custom mail organizer to hang over your mail drop zone so that it’s easy to keep mail up until you toss it or file it away.
- Pick out a frame that suits your décor. You’ll need one that’s fairly large for this project, say 18×24 or larger. I’ll be basing measurements upon standard-sized 18×24 Frame Warehouse frames, but you can absolutely adjust this to suit your space!
- Next, you’ll need to prepare your fabric pockets. A heavier fabric is ideal; nothing sheer or too gauzy. Burlap or canvas, both of which are available in many colors and prints, are inexpensive and popular choices. You’ll need six pieces of fabric, each piece 13 inches long by about 22 inches across (half the width of a normal roll of fabric). Use 3/8 in. iron on hem tape to create neat edges at either end of each piece. To do this, simply fold over ½ inch of the fabric with the wrong sides together, right sides out, iron to create a neat fold, and then follow the directions on the hem tape to stick down the folds. Fold each hemmed piece in half, right sides out, and iron for a neat pocket bottom. Repeat with each of the six pieces of fabric.
- Now you’ll need to attach the pockets to a board. You can use sturdy foam board, scrap paneling, or tough cardboard cut to the size of the frame. Glue down your first pocket with the open end at the top of the board, centered, using a hot glue gun or other craft adhesive. Wrap the extra length around the back of the board and glue it down as well. Be careful that it’s not too tight! Measure three inches down from the top and set up the next pocket, taking care to make sure it’s level all the way across. Repeat with the next four pockets, making sure the bottom pocket fold sits right along the bottom of the board.
- Place the board in the frame and hang however you choose. A wire hanging kit will help ensure that your frame mail organizer stays straight.
Label each pocket with a family member’s name, the day of the week, or based on the type of mail you would like the pocket to hold. This organizer keeps mail off surfaces to reduce clutter. For more frame projects, watch Frame Warehouse’s Facebook page!


