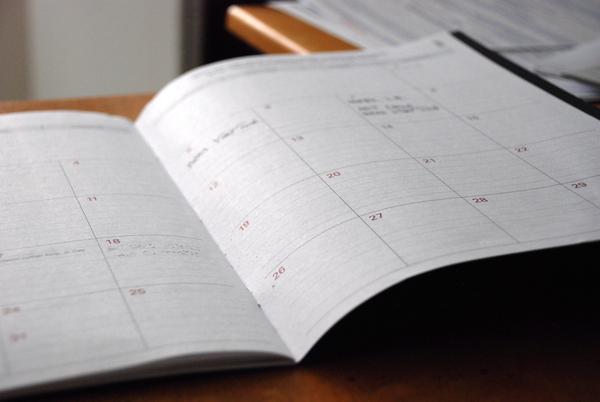
No matter how large or small your family, it’s important to stay organized when schedules get busy—and this is definitely the case if you have kids who are wrapping up the school year. From digital calendars to paper planners, you have a plethora of organizational methods to choose from, but why not set up a schedule that’s both functional and a pretty part of your home’s décor? This DIY framed calendar will allow you to keep tabs on all of your family’s activities while adding a bit of style to your living space.
Step 1: Choose your frame
The first (and most exciting) step in this DIY project is to pick the perfect frame for your calendar. The team at Frame Warehouse can help you identify which frame will best complement your home’s décor while offering enough space to keep up with your family’s schedule.
Step 2: Glue in the cork or whiteboard
Remove the backing and the glass from your frame. Next, lay the frame face-down on a flat surface and place a sheet of cork or a whiteboard over the top of it. Cut the cork to match the dimensions of the frame (if you choose to use a whiteboard, make sure that the board you purchase matches the dimensions you need so that you don’t have to cut it). Finally, glue the cork or whiteboard to the back of the frame so that you can’t see the edges when it’s hung.
Step 3: Create your calendar
Using ribbons, markers, pins, and other fun materials, mark off the lines of your calendar. If you have a smaller frame, you may want to stick to a weekly calendar instead of a monthly one. Once your days are marked, go ahead and fill in your family’s activities.
Interested in learning about more DIY projects you can do with frames? Follow Frame Warehouse on Facebook!


