Add Class to Your Bath Instantly with Mirror Frames

Whether we’re talking the bathroom at your business or your home, it’s tricky to know where to get started when it comes to decorating in the bathroom. It may seem like you need to do a full-on expensive and time consuming remodel to get results, but that’s not really the case.

There’s one change you can make to update your bathroom within one day and without a big price tag. Ready for it? Frame the mirror.

A bathroom needs a mirror, and you can bet your boots that pretty much every single person who walks in to your loo will take at least a quick glance in the mirror. However, many bathroom mirrors in builder-grade homes and other buildings are frameless. Don’t give up that opportunity to add a pop of style!

Frame Warehouse’s custom frames are perfect for quickly framing bathroom mirrors, no cutting or outrageous expenses necessary.

Here are some tips for choosing the right frame to add flair to your bathroom:

  • Choose a style that accents the bathroom’s style (especially the difficult to change things like the tub or shower, vanity, countertops, and toilet).
  • Scale can totally change the look of your mirror and the room as a whole. Take into account the combined size of frame and mirror.
  • If you have more than one mirror, move them further apart to accommodate the frames if necessary. Avoid cramming them in; it takes away from the tidy look frames provide.

For more ideas on how to use the awesome custom frames from Frame Warehouse to punch up your home or business’s look, follow along on our Facebook page and the blog.

Framing Trend Alert: See-Through Hanging Art

We’re seeing a new framing trend lately that is absolutely stunning. It bucks the norms of what we think of when we think about framing and brings a whole new look to framed art.

What is this awesome new trend?

Double-glass framing.

What Is It?

“What on earth does that mean?” you might be asking yourself. Here’s an explanation. Rather than the opaque backing and matting frequently found on framed items, double-glass framed art uses two pieces of glass (or acrylic sheeting), so that you can see through the piece to the wall behind it.

This means that that wall behind it essentially acts like a mat does in traditionally framed pieces. This works great with walls, frames, and items that are complementary colored.

What Kind of Items Work with this Look?

Double-glass framing is perfect for dried flowers and other flora. It serves to highlight the natural shapes and textures of plant matter. It’s also great for any irregularly shaped item that you’d like to retain its unique edges within the frame; think snowflakes or die-cut items.

What do You Need?

To pull off this look, you’ll need two sheets of glass and/or acrylic, whichever you choose, a frame, and an item to be framed.

As far as choosing a frame for this, that will really depend on the look you’re going for. A minimalist natural vibe can be achieved by using a narrow, unimposing frame like our 5/8 in. silver frames. You can use a heavier frame that complements but contrasts with the wall color to help lend more weight to this see-through décor.

More Ideas

Whatever you choose to frame with this double-glass technique, we’d love it if you shared your take on it! Visit or Facebook page and drop us a note, and don’t forget to check in there often for our latest framing ideas and product news.

Where to Find Stunning Printables

Over the past decade, we’ve become rather enamored as a society of digital imaging. Technology, both that of design software and that of the printers we all have in our homes, has come a long way. The combination of the two developments means that we can literally print out our own home décor from the comfort of our own homes.

Printables are all the rage in the world of DIY home décor. Put a well-designed printable into a beautiful, decorative frame and you’ve created your own amazing wall art. You can even give a printable in a frame as a lovely, personal gift. Where do you find those printables, though? Here are some suggestions!

  • You can find great printables available from your favorite design bloggers, oftentimes alongside tips for using these incredible printable images in your décor. Whatever your style preferences, there’s a design blogger out there creating images that will appeal to you! Check out The 36th Avenue or Dwelling in Happiness for some great ideas!
  • Many mainstream home companies like Better Homes and Gardens offer free printables on their websites.
  • There are plenty of sites dedicated to printables, either curating them from other sources or listing many of their own designs, like Printable Decor.
  • Pinterest is a veritable treasure trove of printable designs. Search for whatever you need, whether it’s seasonal prints, a specific room, or a particular style.
  • Can’t find exactly the printable you need? Fiverr is a great place to hire a freelancer to design a digital, printable image that’s perfect for you. The best part? Services start at a mere $5. Custom art for $5!

For more ideas on what to put in your Frame Warehouse frames, keep up with us on Facebook. Check out the Frame Warehouse website for the latest in frame design.

How to Update Your Home’s Look with Family Photos

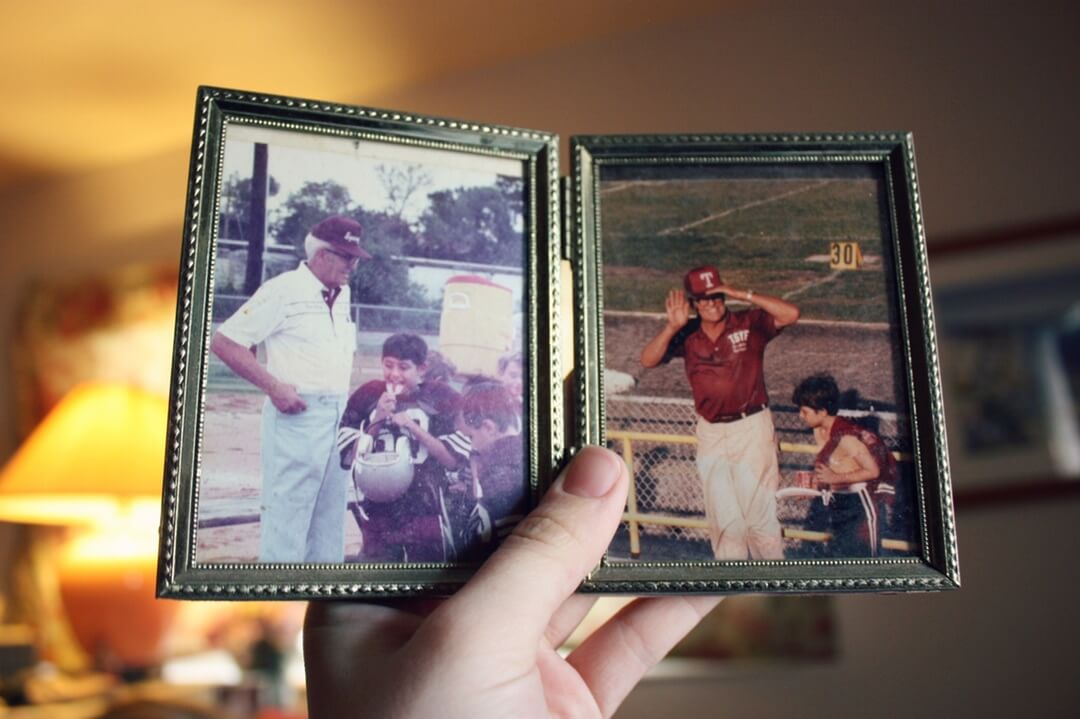
Family photos can bring warmth to your living space in a way that few other pieces of décor can. Each photo of your loved ones is full of memories—and these memories help make your house a home. But when the same photos have graced your hallways for several years, it may be time for an update.

Display Different Photos
The easiest way to breathe new life into your home’s look is to switch out the photos on display. Dig through old and new pictures to choose images associated with your happiest memories. Make sure you get at least one photo of each loved one and distribute them throughout your home evenly—otherwise the living room may be renamed “Grandpa’s room.”

Create a New Look with New Frames
Love the photos currently on your walls, but want to revamp your décor? Replace your current frames. With this simple update, you can either give your room a subtle change or create a whole new style. Taking your frames off the walls and displaying them on tables and bookshelves can help create a new look.

Get Creative with Your Framing
Try creating a cluster of photos in frames of varying styles for an interesting, eclectic living room feature or mixing family photos and other important keepsakes, such as letters from grandparents or birth announcements, in frames that reflect your style. Want to really change things up? Take spray paint to frames that have a great shape to create a modern, fresh pop of color.

Need some inspiration? Check out our Facebook page for framing ideas! We also have a great collection of gorgeous frames on our website that will get your creativity flowing.

Choosing Art for Your Home—Where Should You Start?

For those of us who are uninitiated in the art world, choosing new art for our homes can be daunting. But don’t let that stop you! The right art can create a home that truly reflects your personal style, your interests, and even your beliefs. Finding the perfect piece can be tricky, but starting with the basics is the best way to dip your toes into this unfamiliar territory.

Ask Your Friends
If your friends have bought art for their homes, they can be a wealth of information. Start by asking where they bought their favorite pieces and if they have anyone they can connect you with, such as a curator, a gallery owner, a painter, an illustrator, etc. Once you get the basics down—and even after you buy your first piece—find out how they went about choosing their frames.

Scope Out a Local Gallery
Some galleries host events that are open to the public, and these are a great way to discover new artists and build relationships with curators, gallery owners, and other people who are in the know. Once you’ve found a gallery with pieces you may be interested in, set up an appointment. This will give you time to talk through each piece and decide if it’s the perfect addition to your home.

Look Online
Whether you’re looking for a piece by an up and coming artist on Etsy or are ready to invest in something by an established artist, the internet is a wonderful resource. Even though the internet is brimming with information, it’s always fun to talk to the artist by phone or in person to get the story behind the piece you’ve chosen.

Once you’ve picked the perfect piece for your home, drop by and we’ll help you out with personal framing services. Have questions about how to best frame your work of art? Ask our team! We’re happy to help.

Unexpected Places to Display Art

framed art

Every home has a few “problem areas” that can be a real challenge to decorate. Maybe the space is unusually-shaped, or you’re worried that hanging artwork in that space goes against the rules of design. While design rules can serve as handy guidelines, sometimes it can be fun to break the rules! When it comes to displaying your favorite artwork, don’t be afraid to get creative. Here are some ideas to get you started:

If you have columns or support beams in your home, your first instinct may be to try and make them blend in with the rest of the room. Instead, why not showcase them by using them to display artwork? Try using pieces that are the same width as, or thinner than, the columns so they aren’t blocking your pathway through the room.

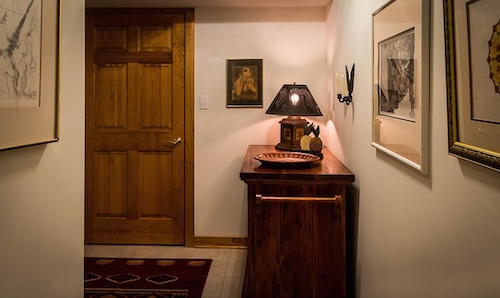
Hallways with corners can be a real decorating challenge. However, we think they can be a perfect place for a unique gallery wall. Try placing larger framed pieces closer to the corner, with smaller pieces toward the outside edges. Use pieces that complement each other for an eclectic look that still looks elegant and intentional.

We’ve seen great examples of art displays along staircase walls, but what about the stairs themselves? For rooms with a stairway running through them, try using the outside of your staircase to hang artwork. Hang a piece by each step for a stylish-yet-unexpected accent. Use same-sized pieces to mirror the uniform appearance of the steps.

Give bathrooms a spa-like feel with an elegant, serene work of art. Because temperature and humidity fluctuate so much in bathrooms, you’ll want to make sure you’re hanging a well-protected art print in a proper frame and not a delicate original piece. Not sure if your frame will work? Our framing experts can point you in the right direction!

Don’t feel like your art always has to hang at eye-level. The right piece can look right at home hanging over a bookshelf or doorway. You might have to experiment a bit with placement to achieve the right look, but the finished product can be quite elegant!

At Frame Warehouse, we know that displaying your favorite art is an art form as well. We can help you overcome any design challenge you might be having. Stop by one of our 16 convenient locations today!

The Case of the Missing Family Portrait!

missing family photos

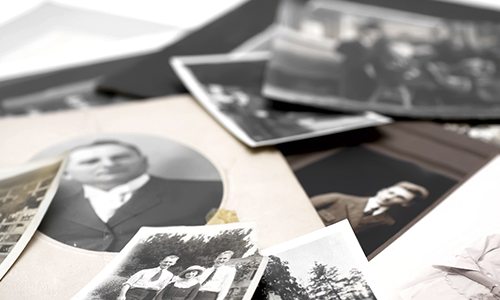
In the age of technology, hunting down a specific photo is as simple as searching an image database based on the date, folder, or photo names. But the search for physical photographs is usually much more difficult. Which family member had it last? Suddenly, your six siblings are all pointing at you! Unfortunately, you are foggy on the details and don’t even know where to begin looking. After a thorough search, you discover it’s not in any of your scrapbooks or albums. When you discover your photo boxes in the attic, the enormity of the task dawns on you. Each box has four bins and each bin holds hundreds of photos. And thus, the case of the missing family portrait begins! The game is afoot!


The case ends after several, excruciating hours and you promise yourself this will never happen again. In fact, you decide to organize and store your photos. But with everything going on in your busy life, the thought of scrapbooking them all is a bit of a nightmare. There must be a better way to keep and enjoy your memories. Here it is:


  1. Divide – If you have bins, use ‘em! If not, mailing envelopes, old photo envelopes, or even just spots on the floor work to sort out your precious photos. The sorting system is up to you: by year, event or holiday, family vs. friends, celebrations vs. candid, or any other method that makes it easier to label.


  1. Minimize – The last pile you may need is one destined for the trash can. Initially, it might seem impossible to throw out any of those cherished memories. But after awhile, you’ll be surprised to discover how many photos are ones that you don’t need or that you aren’t sentimentally attached to. For instance, if you catch yourself asking, “Who is that?” then you probably don’t need to keep the picture. One example: your crush from 4th grade, who gave you his picture in a Valentine’s Day card that reads, “You’re a rockstar friend!” Or, if you have a bad memory or emotion connected with a photo, it might be time to toss those out as well.


  1. Conquer – After taking the initial dividing and minimizing steps, it’s time to revisit each photo for its importance. Depending on what it means to you, you might want to create albums of certain piles and be fine with leaving others in the box. Ultimately, you’re making it a lot easier to access photos down the road. At the same time, you’re allowing the most timeless memories to be truly enjoyed!


After going through the first three steps of the process – dividing, minimizing, and conquering – it’s time to display your favorite photographs! There will be a few images that jump out at you because they represent an important memory or time in your life. That kind of photo is worthy of being prominently displayed for you and all your loved ones to see. And a photo like that deserves to be shown in the best! That’s why you should select a beautiful frame from Frame Warehouse. There’s no better way to honor a memory than by hanging it on your wall!

DIY Map Monogram

DIY Map Monogram

Traveling to some far distant city, state, or country can happen in a whirlwind that leaves you breathless and wanting to go back immediately. There were so many things left undone and places unexplored. You try to take some of the magic back home with you in the form of souvenirs and photographs, but there is something missing. You need some representation of the place itself – a map. Looking at a map, you can remember where you traveled, the routes you took, and the landmarks seen. Why not transform your excitement for those fond memories into an art project?


A map monogram is the perfect way to share your adventurous spirit with all those who enter your home, office, etc. For this DIY project, you will need a monogram, a printed map of the chosen location, paint, scissors, glue, and painter’s tape.


  1. Gathering Supplies

The supplies needed for this project are not difficult to find. Most of them are available at your local arts and crafts store, if not your home.

  • The monogram should be a 3D foam, wood, or board cutout of the first letter of your name. (If you want, you could create a series of map letters to spell out your name.)
  • Paint can be any color and medium type from house paint to acrylics. Be sure to inquire to a salesperson if the paint will apply to the material of the monogram, or test it out yourself on a similar material.
  • The map may need to be printed off of a larger digital printer than what you may have at home, depending on the size of the monogram. It should be large enough to cover the entire letter.


  1. Painting the Monogram

You need not paint the entire monogram, only the sides of the letter. The map will cover the entire face. For something a little more complex, you can add horizontal or diagonal stripes to the sides of the monogram. Accomplish this by laying painter’s tape across the monogram prior to painting. When the paint is dry and the tape is removed, there will be a pattern of alternating white and colored stripes.


  1. Preparing the Map

If you have traveled to the location on your chosen map, you can personalize it with stars, stickers, highlights of the routes taken, etc.


Lay the map face down on a flat surface. Set the monogram face down on top of it. Is there a certain part of the map you definitely want showcased on the letter? Make sure the monogram covers it. Remember, the monogram does not need to be centered over the map.


Trace around the edges (and inside edges) of the letter. Cut out your traced map piece and make sure it matches the monogram.


  1. Adding the Map to the Monogram

Apply glue or spray adhesive over the face of the monogram, being careful not to expose the painted sides. Gently lower the map piece onto the glued face of the letter and, when it is centered, press down firmly. Allow to dry.


A map monogram is a unique way to commemorate a fun travel experience; it’s like transferring part of your scrapbook to a wall of your home. Adding some photos to the same wall can enhance the story told by your art project. Of course, those photographs will need great frames to accent your piece, so bring them into Frame Warehouse to find the perfect fit!
Glass for your Framing Projects

One of the most important choices you will have when you choose to have custom framing done, is the selection of glass. Frame Warehouse offers 5 choices in glass.

How do you decide what glass is best for your project?

  1. The value of the piece – Only you can assess how valuable something is to you. Some items may not warrant the investment in museum-quality glass when there are more affordable options available.
  2. How much glare you are willing to tolerate? If your art is near a direct source of light such as a window or lamp, it may reflect more glare and a non-glare or glare reducing glass may be beneficial. Certain images, typically those with dark backgrounds, are also known to create more glare.
  3. Consider the need to preserve the piece from ultra-violet rays that can harm your artwork. They are particularly harmful to organic material found in certain paint, ink and papers. UV rays create irreversible damage which is why archivists, museum curators and preservationists everywhere prefer museum quality glasses that prevent yellowing, fading and the breakdown of organic material.

Frame Warehouse offers Tru-Vue® Museum Glass, a truly extraordinary product. It provides the same UV blocking protection as Conservation Clear® and Conservation Reflection Control® two less expensive glasses. In addition to its ability to block more than 98% of ultra-violet rays, Museum Glass has an anti-reflective surface far superior to a typical non-glare glass.

A special coating is used in extremely thin layers to break up the incoming light rays so that they don’t bounce back off the glass, producing a glare. Because the rays don’t bounce, the picture is actually more illuminated than with clear glass. Clear glass transmits 91% of light to the artwork, while Museum Glass transmits more than 97% of light to the artwork. This improves color intensity and clarity.