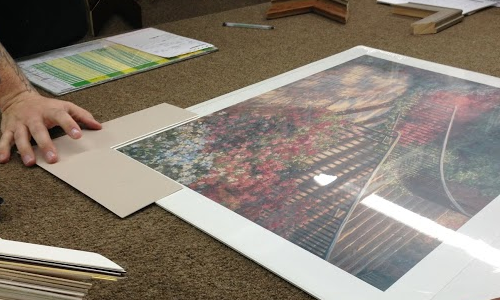
Art mats can be a costly addition to finish off your art piece or accent that perfect photograph of you in the Bahamas. Wouldn’t you much rather put money toward a unique frame? Instead of having a mat professionally cut, consider making your own. Taking a little extra time to cut and design your own mat will save money and come out with a terrific end product.
For this tutorial, we are going to take you through the steps of cutting a straight-edge mat. If you are interested in a chamfer-edged mat that diagonally slices through the mat board to give a small white border, you should buy the mat pre-cut and skip ahead to step 4.
- Decide on the style of mat.
The style of mat is not just a decision between straight and chamfer edges. It is also a decision about whether or not your mat overlaps the art. Most artistic pieces need to be shown in the entirety, but a photograph may be an exception to that. If you are leaning toward overlapping the piece more than a fraction of an inch or only on one or two sides, try cutting the photograph itself down instead.
Mat board comes in many colors and textures. For this tutorial, color and texture is not important because it will be covered up. However, size is important. If your piece is only 3×4” you probably don’t want a mat board of twice that size. If in doubt, buy the larger size and be prepared to cut it down.
- Measure your art piece or photograph.
Use a ruler to measure out the length and width of your art piece or photograph. Center these measurements in the middle of the mat board and make pencil marks to map out the square hole you will be cutting. In this case, you can draw on the front of the mat board. However, if you were cutting a colored mat to use as is, you would want to make your markings on the back of the board.
- Cut the mat board accordingly.
Place the ruler along the marks or line you made indicating where to cut. Slowly cut along the lines using an exacto knife and guiding with the ruler. Be careful to keep the blade of the knife vertical so that each cut is straight into the board and not at a diagonal.
- Add a personal touch.
Once you’ve cut your mat board to the appropriate size for your art, it’s time to add something that will make it unique! Tear up newspaper, book pages, music sheets, or even magazine pages and arrange the pieces of varying sizes across the mat board. Once you have enough spray the board underneath with adhesive, replace the torn pieces and press down firmly. Note: It’s okay if the torn pieces have edges that overlap the mat. You can trim down those rough edges to finish out your trendy and modern mat!
You’ve not only found an amazing art piece or photograph, you’ve now also designed a personal mat! All that’s left is a frame to complete your vision. Take your art and designed mat into Frame Warehouse and the professionals there will fit the perfect frame that will have your friends “oohing” and “ahhing” about the custom piece on your wall.


