When you were younger, did you ever have a tradition of coloring with your relatives? There’s something simplistic and upbeat about coloring book pages that brings family together to do art. No stress. Minimal mess. A myriad of colors. Even if you feel that you’ve outgrown your days of Crayola and juice boxes (or if your child recently has), you need not throw out those old coloring book pages!
In this tutorial, we will go through the step by step process of transforming those whimsical coloring pages into unique pieces of art.
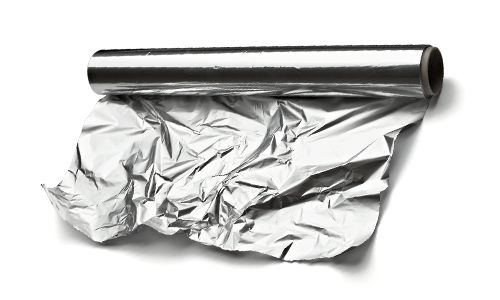
What you will need: coloring book pages (colored or uncolored), marker, cardboard, glue (both tacky and glue stick), tin foil, dull pencil, black shoe polish
- Choose Your Image – We recommend the use of coloring pages for ease of the project, a recycling of unused pages, and the added reminiscence of childhood! However, you can draw your own simplistic image if you prefer. It’s important that the image has ample negative space.
- Darken Outline – Trace over the image lines with a marker, especially if constructing the project with younger artists. It clarifies the true image that will show through in the end.
- Transfer Image to Cardboard – There are a few options for image transfer. 1) You can simply redraw the image onto a piece of cardboard of the same size. 2) Paste the coloring page onto the cardboard with the image facing up. 3) Trace the image on the back of the coloring page. The marker lines will have probably bled through as a guide. Then lay the page on the cardboard face-up and trace over the lines again, with enough pressure to transfer the graphite from the pencil lines on the back onto the cardboard.
- Apply Tacky Glue – This step is best handled by an adult. Trace the lines of the image with a thick stream of tacky glue. Try to make the lines as smooth and accurate as possible.
- Allow to Dry – The tacky glue needs to dry prior to the next steps. It doesn’t matter if it dries clear or white, as it will be covered. Just ensure that it dries as a raised ridge of glue.
- Wrap Foil Over Image – Rub the image down with a glue stick and lay a large piece of foil over the top. (Dull or shiny side – the choice is yours!) Flatten it down to the image using a piece of cloth and fold the excess foil around the edges. Avoid touching it too much. Oils might adhere to the foil or stick as you are pressing, causing your foil to rip.
- Press Down to Accent Glue Ridges – Use a cotton ball to gently rub the foil against the glue ridges beneath.
- Decorate Negative Space – With a dull pencil, trace patterns into the negative spaces of the foil (ie between the ridge outlines).
- Rub Shoe Polish – Rub over the whole foil image with black shoe polish. Leave for a few seconds before wiping back off. The result will be an antiqued silver look.
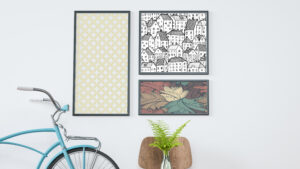
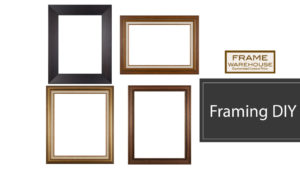
This foil art project is terrific for the whole family, just like the good ol’ days of coloring. But instead of hanging the finished piece up on the fridge, you can frame it and hang it on the wall! Frame Warehouse can supply you with the perfect accent frames to display you and your child’s beautiful foil designs.
